Wednesday, January 28, 2015
Thursday, January 22, 2015
.JPG)

Aluminum can be tough to drill, due to its relative softness. Push to hard with the press, and it will "bite" or wander off line. Patience is required and the bit size needs to be stepped up slowly.

Ooops. Learn from your teacher, kids!


Wednesday, January 14, 2015
Postponed
Evening forecast for road conditions is a bit dodgy... decided to postpone this session until next week. Better to be safe than sorry.
Thursday, January 8, 2015
It's alive!!!
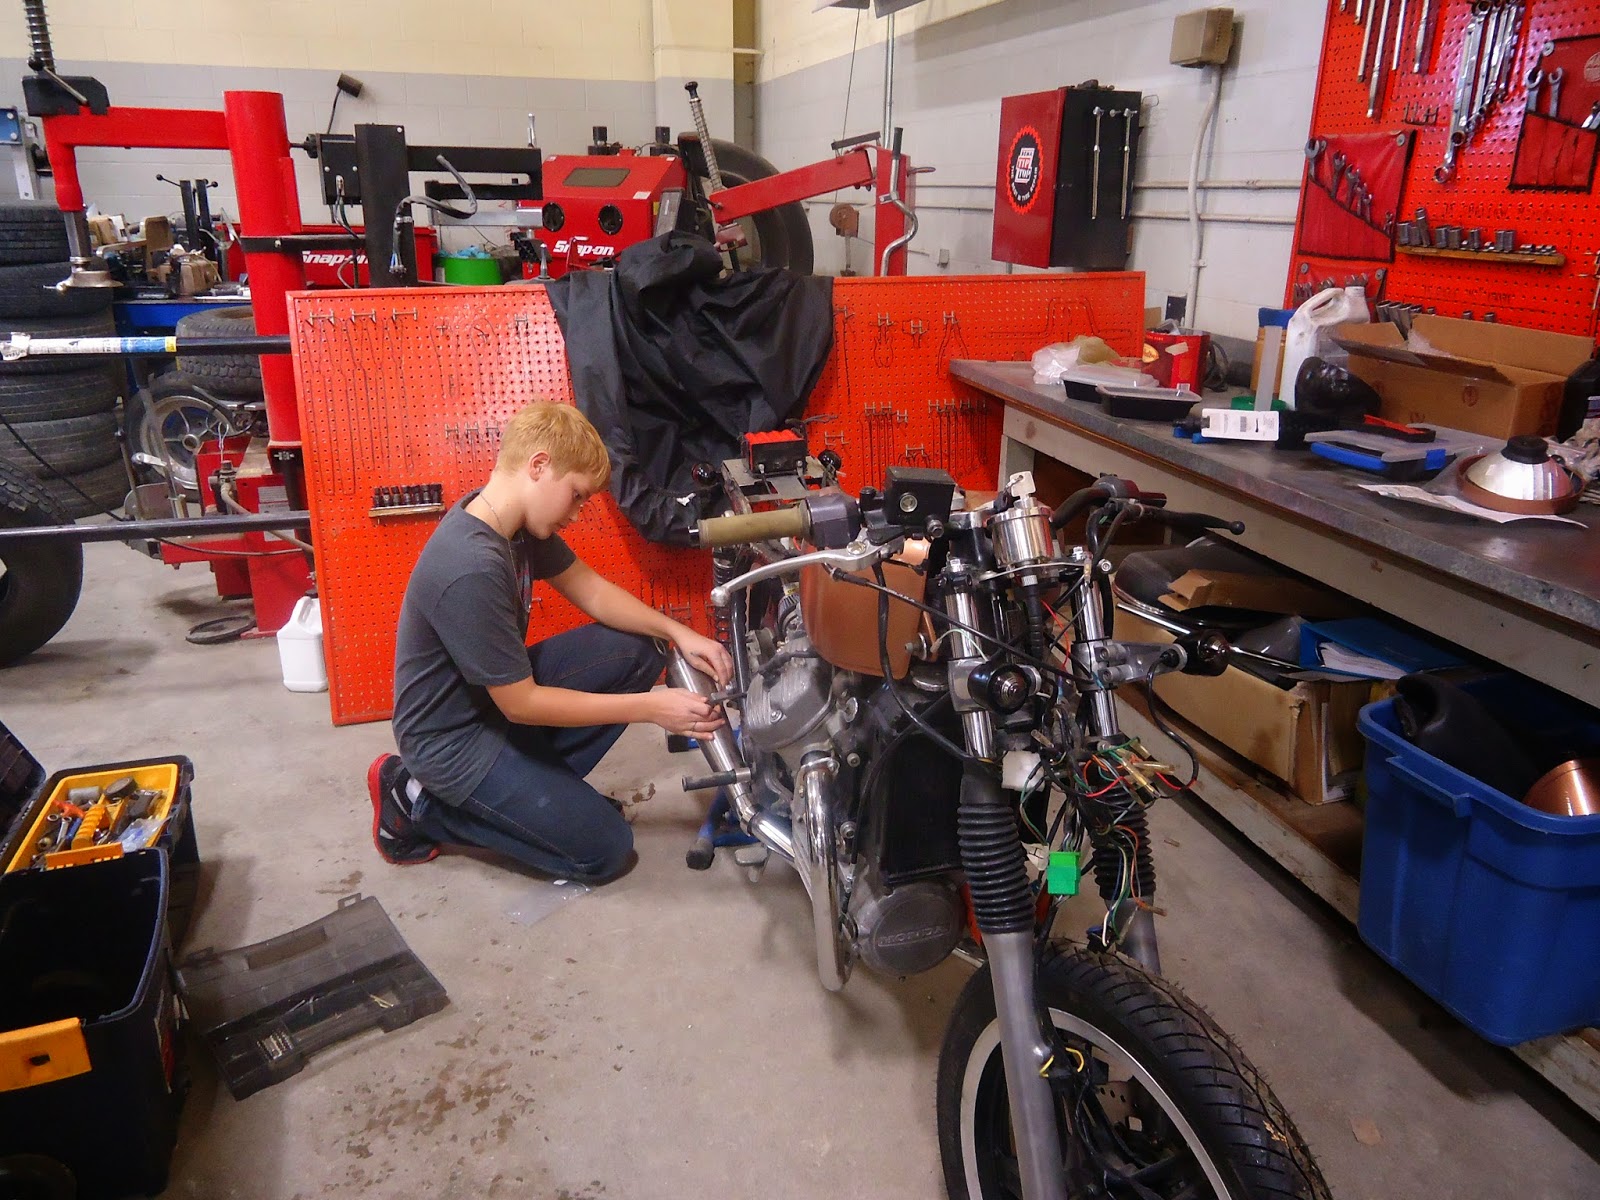
After the holiday break, the Kids' Cafe reconvened this past Wednesday to continue work on the bike. As we had left it in December, it appeared the basically everything was in place for us to try to start it... the muffler was installed (but not properly bolted in place), the battery was hooked up, and the starter was in place, ready to turn the engine over. All we needed is some fuel, and it should run...
 Step one was to properly attach the muffler to the bike. Cycleboyz had fabbed and welded the bracket, and earlier another group of students created a bracket strap to mount to the frame.
A double check of the fluids, and some gas added to the mix, and we thumbed the starter... the bike tried to run, but something wasn't right. Both carbs were getting fuel, but the old "touch the cylinder" test showed that one jug was warm, and the other ice cold. It was only running on 1 cylinder.
So we pulled the plug in the suspect cylinder, grounded it to the frame, and turned the engine over... no spark, but it actually started to run better! The lack of compression with the removed plug allowed the bike to actually start and run... good ol' Honda!
We traced the wire from the suspect coil back into the harness, and sure enough, there was a lack of proper contact -- no circuit, no spark. With time running out, we fabbed a new connector to the harness, reinstalled the tank and.... success!
 With just a touch of the starter, the bike immediately fired on both cylinders and settled into a nice idle. After untold years of sitting in a barn in Boissevain, we now have a running bike, with no leaks or white smoke. A healthy engine is the heart of any project, and it looks like we've got a good 'un.
With a few more details to sort out, in the next while we will actually start the disassembly in order to get the frame and swingarm refinished and powder coated.
A double check of the fluids, and some gas added to the mix, and we thumbed the starter... the bike tried to run, but something wasn't right. Both carbs were getting fuel, but the old "touch the cylinder" test showed that one jug was warm, and the other ice cold. It was only running on 1 cylinder.
So we pulled the plug in the suspect cylinder, grounded it to the frame, and turned the engine over... no spark, but it actually started to run better! The lack of compression with the removed plug allowed the bike to actually start and run... good ol' Honda!
We traced the wire from the suspect coil back into the harness, and sure enough, there was a lack of proper contact -- no circuit, no spark. With time running out, we fabbed a new connector to the harness, reinstalled the tank and.... success!
With a few more details to sort out, in the next while we will actually start the disassembly in order to get the frame and swingarm refinished and powder coated.
Subscribe to:
Posts (Atom)