Monday, April 28, 2014
Finalizing the wiring work
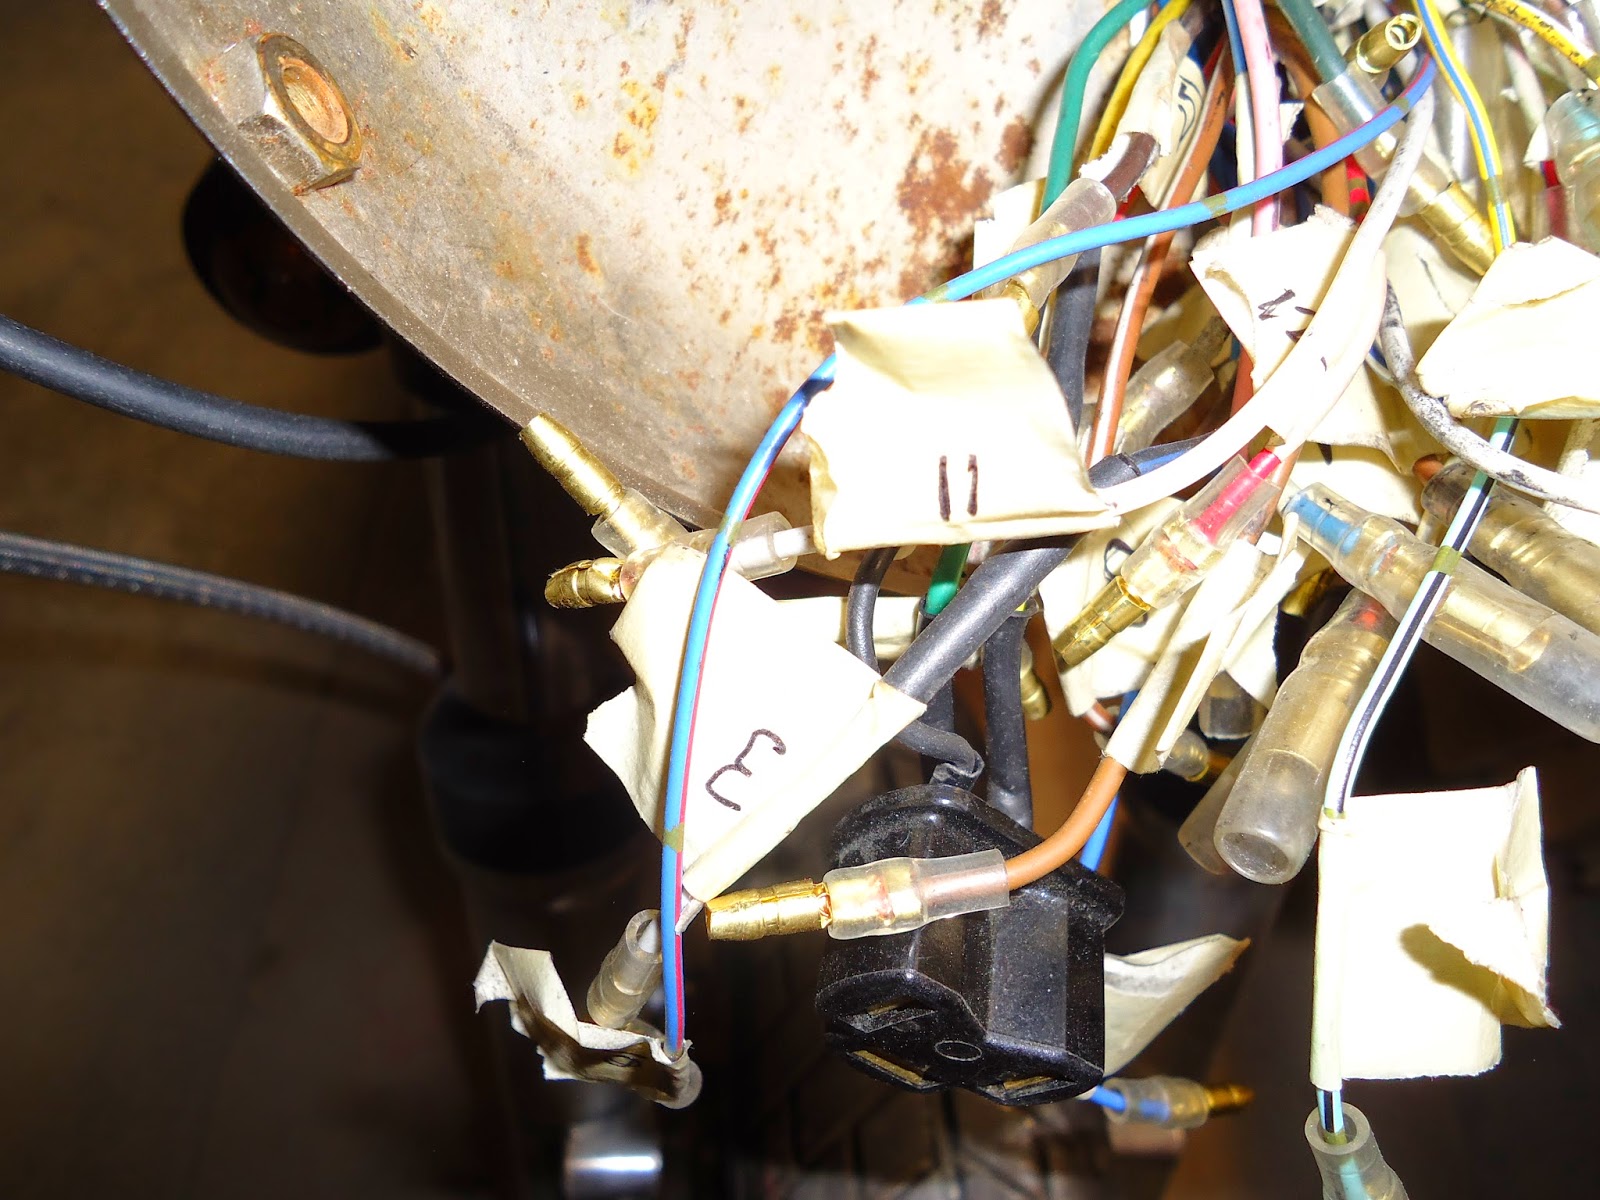
For the interim, the wires that are connected and housed in the headlight bezel were labelled with pieces of masking tape. Connected wires were numbered and then separated for painting and powder coating.
Not the most exotic or "clean" way of doing things... and over time the masking tape will deteriorate, or the marker/pen will run.
Mr. S got the awesome administrative assistants at TCS to print off a series of matched numbers on address labels. The idea would be that the masking tape would be replaced with these smaller labels, "cleaning up" the whole cluster of wires.
A fiddly job, but the masking tape was slowly replaced with these much nicer wire labels.
A much neater solution! The next owner will be much more able to sort out the wiring harness, should any service work need to be done or fault located (not that there will be any!)
Wednesday, April 16, 2014
Just pics for now...
The devil is in the details... fitting the rear tail light and turn signal bracket.
Shopping/supply list for Mr. S for the next session.
Fabricating the muffler bracket. Pilot hole first...
... and then finish with the proper sized hole.
Foam strip to isolate the aluminum battery tray from the steel frame. We're worried it might rattle somewhat!
Finishing the bracket -- grinding a nice, radius/curved edge to each end, rather than a straight cut.
Test fitting the strap to the Dime Cities muffler.

Photo for reference purposes... tank a tail section went to the painters last week!
Another reference photo, for the painters to get an idea of the profile of the bike.
Trying it on for size... suits you, sir!
Shopping/supply list for Mr. S for the next session.
Fabricating the muffler bracket. Pilot hole first...
... and then finish with the proper sized hole.
Foam strip to isolate the aluminum battery tray from the steel frame. We're worried it might rattle somewhat!
Finishing the bracket -- grinding a nice, radius/curved edge to each end, rather than a straight cut.
Test fitting the strap to the Dime Cities muffler.

Photo for reference purposes... tank a tail section went to the painters last week!
Another reference photo, for the painters to get an idea of the profile of the bike.
Trying it on for size... suits you, sir!
Tuesday, April 8, 2014
Back on 2 wheels
With two students today, we had the opportunity to do a bit more work, now that the forks were back and more work needed to be done! Step one was swapping out the fork boots. The lowered front end meant the "gaitor" style boot we had were a bit too long for the fork sliders. At the same time, the hole that the rear brake lever pivoted in was cleaned up as some powder coat got in there, making the pedal action a bit stiff.
Next step was to install the remaining engine bolts, cleaned up by Mr. S on his wire wheel at home. A 2-person job! Engine is now securely in place.
Some of the electrical components were installed next. Battery and fuse tray, as well as the keyed ignition, speedometer, and headlight.
Last step for today was to flip the right rear shock, which was accidentally installed in reverse last time.
Caliper Bracket finished!
Just before the break Celtic Machining informed me that the bracket was finished. Here is a picture of the final product. Things line up perfectly and the end result is a braking system that is heads and shoulders above the original single piston caliper. A modern brake lever/master cylinder and a braided steel line and the stopping performance should be on par with a modern machine!
Subscribe to:
Posts (Atom)


