Friday, April 24, 2015

Cutting and Grinding

With the bike completely disassembled, it was time to get out the angle grinder and remove the tabs and brackets we would no longer need on the frame.
We used the cutting blade first to remove the big pieces, careful not to cut into the frame itself.  While this was going on, Mr. S was fabricating a bracket for the rear brake light switch.

After the tabs were removed, the metal that remained needed to be ground off to make like it was never there in the first place.  This take time, patience, and a bit of finesse... we don't want to leave any evidence that the tab was there (like a ridge left over from the weld bead), but we also don't want to leave a depression or gouge in the tube either.

A great result.  After powdercoating, you won't be able to tell a bracket was welded there in the first place!

The results...  we still have a lot of metal we need to remove, but we've made a good start.

Monday, April 20, 2015

Bare Bones

The last Bike Club session was spent getting the bike down to the bare bones component parts.  The cosmetic refinishing will begin as soon as the last few tabs have either been removed, or in the case of the steering stop and brake stay tab, added.


The rear wheel came out fairly quickly, and while the front steering races were being removed, the springs were next.  The bearing races came out easily, and the good news is that new tapered steering stem bearings are available for this model.  Mr. S ordered a set on the weekend, from club sponsor TransCanada Motorsports (check 'em out on the right).

The last of the electrical components were removed, bagged, labelled and stored.  We want to make sure none of this stuff is lost or damaged while the bike is apart.

The brake stay components are removed.  We'll need to create a pile of things to be blasted and coated, and keep the rest boxed up and safe.  At this point we were on pace to get the final pieces off in the time allowed.  The only question mark was the swingarm and shaft drive.  Aside from the manual, Mr. S had no experience working with this type of drive system.  I guess everyone was going to learn something new in school today!

When in doubt, take a deep breath, and read the instructions.  The swingarm came off without too much drama, and the drive shaft slid out with ease.  Everything looks to be in great shape, so despite the age of the bike, it was obviously well lubricated with gear oil, and there was a pile of grease present in the swingarm.

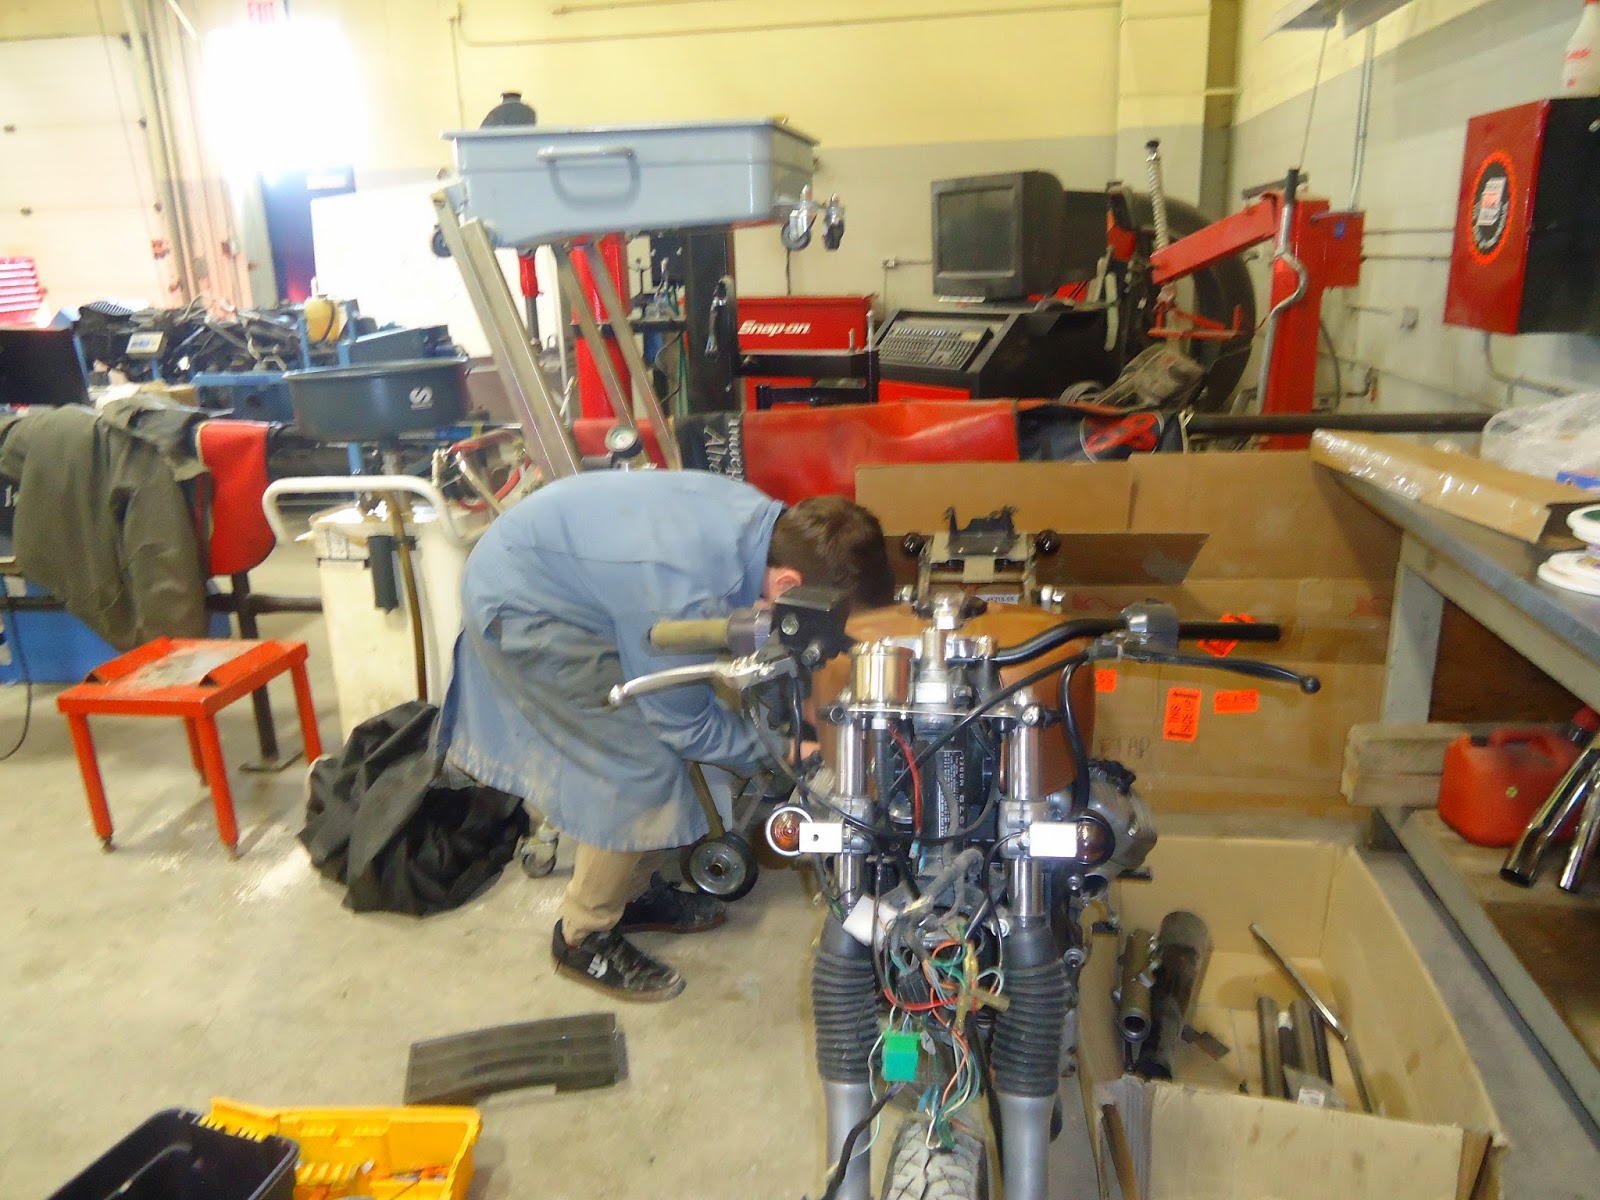
We need to weld on a bracket for the brake light switch.  This pic will serve as a reminder as to where it needs to go on the frame.  We'll go about fabbing that bracket next week.

Job done!  Nothin' like getting your hands dirty!  Some time with the orange pumice soap, and the hands will be clean.  You need to leave a little under your fingernails, just to let people know you still spin wrenches, old school!

Friday, April 10, 2015

Deconstructin' things....

Anyone remember Maestro Fresh Wes?  Anyone?
OK.
With the bike running and all the electrical sorted, it's time to really tear things apart for the cosmetic refinishing.  Things moved along smoothly...
The start... exhaust first, with Mr. S scrambling to find some decent boxes for storage.

After 1 hour... had to get the manual out.  We were unsure exactly how the rear swingarm (with shaft drive) connected to the engine and frame.  Further, getting the engine out of the frame was not immediately apparent, so rather than guessing and hope for the best, we read the instructions.

Good thing we did... it was a two-person job, but it did eventually come apart.  We set the engine aside, up on blocks of wood, and called time at 2 hours.  Found some interesting things -- mismatched bolts, a variety of nuts, and loose front steering stem bearings.  Hopefully a tapered set is available.  Either way, the grease was more like mud, and had lost all lubricating properties sometime since 1979.

Next session we will finish the teardown, and start to itemize the parts for refinishing.  We need to modify the steering stops, and fit a bracket for the brake light actuator.  Both will require some welding, after paint removal.  The kids will need to start thinking about a paint scheme as well, one that begins with the frame and swingarm and goes from there.