Another successful Kids Cafe session saw us do some work on the "lifeblood" of any machine, the fluids. Step one was the bleed the front brake system. The rear is a mechanical drum brake, so the front needed some new DOT4 fluid.
The finishing touch was to reinstall the resevoir cover. Now the CXCafe has a more powerful front master cylinder, uprated front caliper from a CB900, and a new lightweight EBC front brake rotor, along with the red stainless brake line and new fittings from Venhill. The front caliper itself was also rebuilt with new seals as well. As good (better!) than new.
Next the rear driveshaft got new gearbox oil. Transcanada Motorsports hooked us up with some new fluid. Oil and lubrication technology has come a long way since 1979. We used a plastic syringe to add the 5.7 oz as specified in the manual. And we only spilled a little bit. We also broke out the grease gun to lubricate the gears -- easy peasy with the zerk fitting easily accessed on the swingarm.
As you can tell, "red" is the color of choice. The headlight bezel was painted and clearcoated, and reinstalled, hiding the wiring from view.
Finally the seat hump was fitted as well. We need to install the new lithium-ion battery under the hump (we've dug up an old KTM dirtbike battery box to hold it in place). The seat slides into place nicely. What's left are a few more details before we can fit the tank and start it up again!
Friday, April 15, 2016
Friday, April 1, 2016
Help from Venhill
We needed a custom-length front brake hose for the upgraded brakes on the cxcafe... Mr. S has dealt with Venhill for a number of years with his race bikes. An order went in for a front line and banjo fittings, as well as an update/request for support for our project. Sure enough, they shipped one of their lines to our specs with no cost for postage. Every bit helps! Thanks Venhill! Check out the link to their North American distributor to the right.
Tuesday, March 15, 2016
Carbon Footprint
Friday, March 4, 2016
Wiring
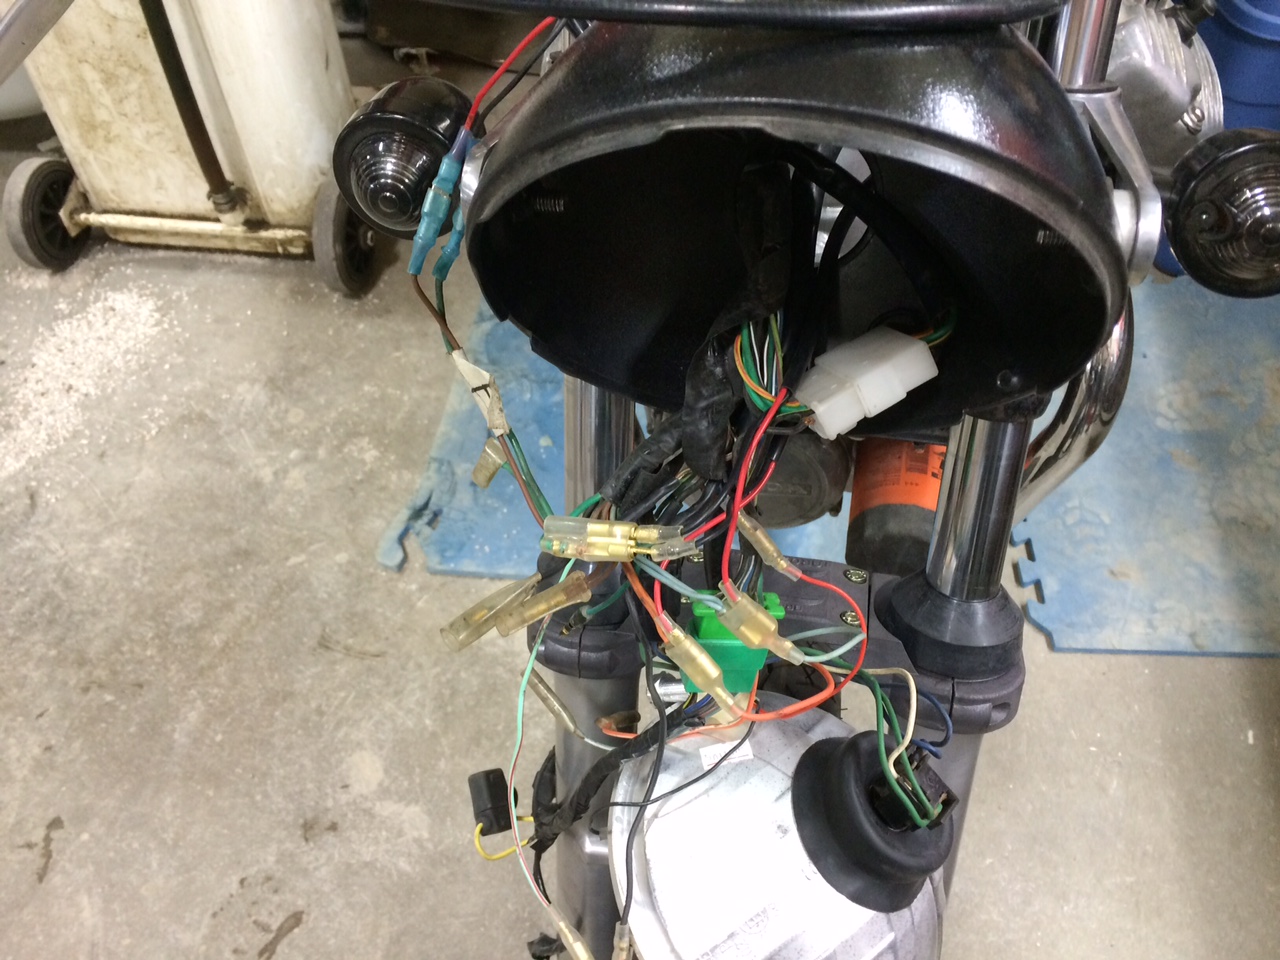
While the Cafe Kids were off playing basketball (both the boys' and the girls' teams did quite well, by the way), Mr. S spent some alone time with the wiring harness on the cafe project. The goal was to minimize the "rat's nest" of wiring that was to be tucked into the headlight bezel. The 8-pin white block connector that can be seen needed to be eliminated, as well as a pile of extra-long wiring that was redundant, now that the handlebars were much lower. Over the next 3 hours, wires were cut, soldered, and new "proper" bullet connectors from longtime supporter XS650 Direct were utilized.
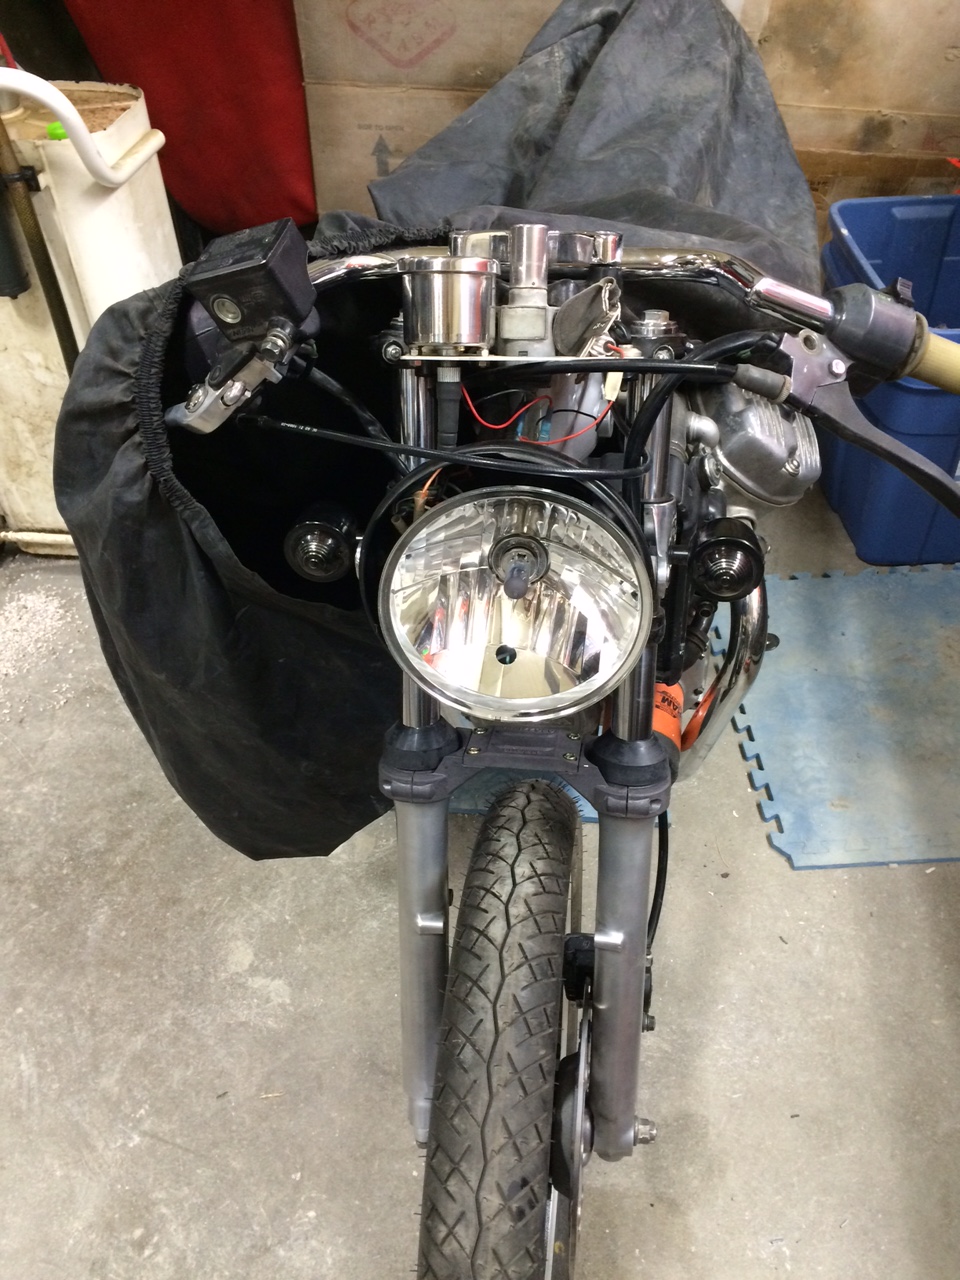
The end result was that everything still worked, and we are able to get the lightbulb and reflector onto the headlight bezel. The trim retaining ring is being painted (color-matched to the tail), so that will be installed later. Next steps are fabricating a new gauge panel (out of carbon fiber sheet), installing and bleeding the front brakes, and cleaning up the wiring at the rear of the bike. We also need to wire in the rear brake light switch in order to pass safety. It's coming along....!
Thursday, February 18, 2016
Brace
The powder coated OEM fender just didn't look right with the smaller, sportier 18" wheel. As such, we've replaced it with a fork brace.
It came in a very European looking box from Fast from the Past. Instructions were in Italian, German, French, and thankfully, English. Fast from the Past supplemented the 70s-era text with some more current information which helped with the install.
In place! The next tedious step is the wiring harness. The tail end of basketball season sees most of the Cafe Kids busy with that sport, so Mr. S might tackle this tedious, 1-person job on his own...
It came in a very European looking box from Fast from the Past. Instructions were in Italian, German, French, and thankfully, English. Fast from the Past supplemented the 70s-era text with some more current information which helped with the install.
In place! The next tedious step is the wiring harness. The tail end of basketball season sees most of the Cafe Kids busy with that sport, so Mr. S might tackle this tedious, 1-person job on his own...
Monday, February 8, 2016
Tank work
To go with the industrial "rat rod" look, we've decided to strip the paint from the tank. Because this stuff is seriously dangerous, Mr. S decided to tackle it at home, with rubber gloves, eye protection, a mask, etc.
After several applications, and a bit of 100 grit sandpaper, it looked like this...
Then, after rubbing the tank down with alcohol, our custom decals were applied.
The bare metal will be protected by a treatment called "Gibbs". Mr. S has used it on a number of other projects, and it is pretty amazing. After a couple of treatments (which we will do before its auctioned off), some WD40 is all that's required.
After several applications, and a bit of 100 grit sandpaper, it looked like this...
Then, after rubbing the tank down with alcohol, our custom decals were applied.
The bare metal will be protected by a treatment called "Gibbs". Mr. S has used it on a number of other projects, and it is pretty amazing. After a couple of treatments (which we will do before its auctioned off), some WD40 is all that's required.
Wednesday, January 27, 2016
Identity Crisis
The eagle-eyed viewers will notice we've gone from Cafe, to Scrambler, and then back to Cafe again... it's all about the bars.
We've been struggling a lot with bar-tank interference. The lower bars and the steering lock is such that at "full lock" the bars hit the front of the tank. Other cafe-d CX500s use a different tank, but sourcing those tanks is difficult, and they carry a premium price. So instead, we decided to go back to Cafe Bars which helped somewhat with the clearance issue, but we still need to massage the fuel tank to allow the bars to be turned a safe amount.
I prefer this racier stance for sure, but you can see the "dimples" just aft of the bars. Judicious use of a ballpeen hammer has allowed for enough clearance. The tank will be repainted, and hopefully a guru at the pant shop can maintain the clearance and make the dimples look like they are supposed to be there. There aren't a whole lot of hammer marks anyway, so that's positive. The sheetmetal was thin enough that it didn't need to be beaten too severely.
The OEM-style fork dust boots were also installed. The gaiter style accordion boots didn't fit very well. The fender is pretty substantial -- we actually had to remove the forks after this picture, install the fender, and then reinstall the forks in the triple clamps. Forks of this era aren't the sturdiest, so the fender acts as a brace. It's not super heavy, but is stiff -- what the front end certainly needs.
The front view. The front fender sits a tad high, but other than that, it looks OK. A lot of the wiring will be the next step, along with finalizing the exhaust mount. We'll be installing a period-correct, but uprated, front caliper to these forks to improve the stopping power of our hopefully quicker machine. The front disc is also a lighter EBC unit. We've been talking as a group about the benefits of reducing rotating/gyroscopic mass.
We've been struggling a lot with bar-tank interference. The lower bars and the steering lock is such that at "full lock" the bars hit the front of the tank. Other cafe-d CX500s use a different tank, but sourcing those tanks is difficult, and they carry a premium price. So instead, we decided to go back to Cafe Bars which helped somewhat with the clearance issue, but we still need to massage the fuel tank to allow the bars to be turned a safe amount.
I prefer this racier stance for sure, but you can see the "dimples" just aft of the bars. Judicious use of a ballpeen hammer has allowed for enough clearance. The tank will be repainted, and hopefully a guru at the pant shop can maintain the clearance and make the dimples look like they are supposed to be there. There aren't a whole lot of hammer marks anyway, so that's positive. The sheetmetal was thin enough that it didn't need to be beaten too severely.
The OEM-style fork dust boots were also installed. The gaiter style accordion boots didn't fit very well. The fender is pretty substantial -- we actually had to remove the forks after this picture, install the fender, and then reinstall the forks in the triple clamps. Forks of this era aren't the sturdiest, so the fender acts as a brace. It's not super heavy, but is stiff -- what the front end certainly needs.
The front view. The front fender sits a tad high, but other than that, it looks OK. A lot of the wiring will be the next step, along with finalizing the exhaust mount. We'll be installing a period-correct, but uprated, front caliper to these forks to improve the stopping power of our hopefully quicker machine. The front disc is also a lighter EBC unit. We've been talking as a group about the benefits of reducing rotating/gyroscopic mass.
Subscribe to:
Posts (Atom)