
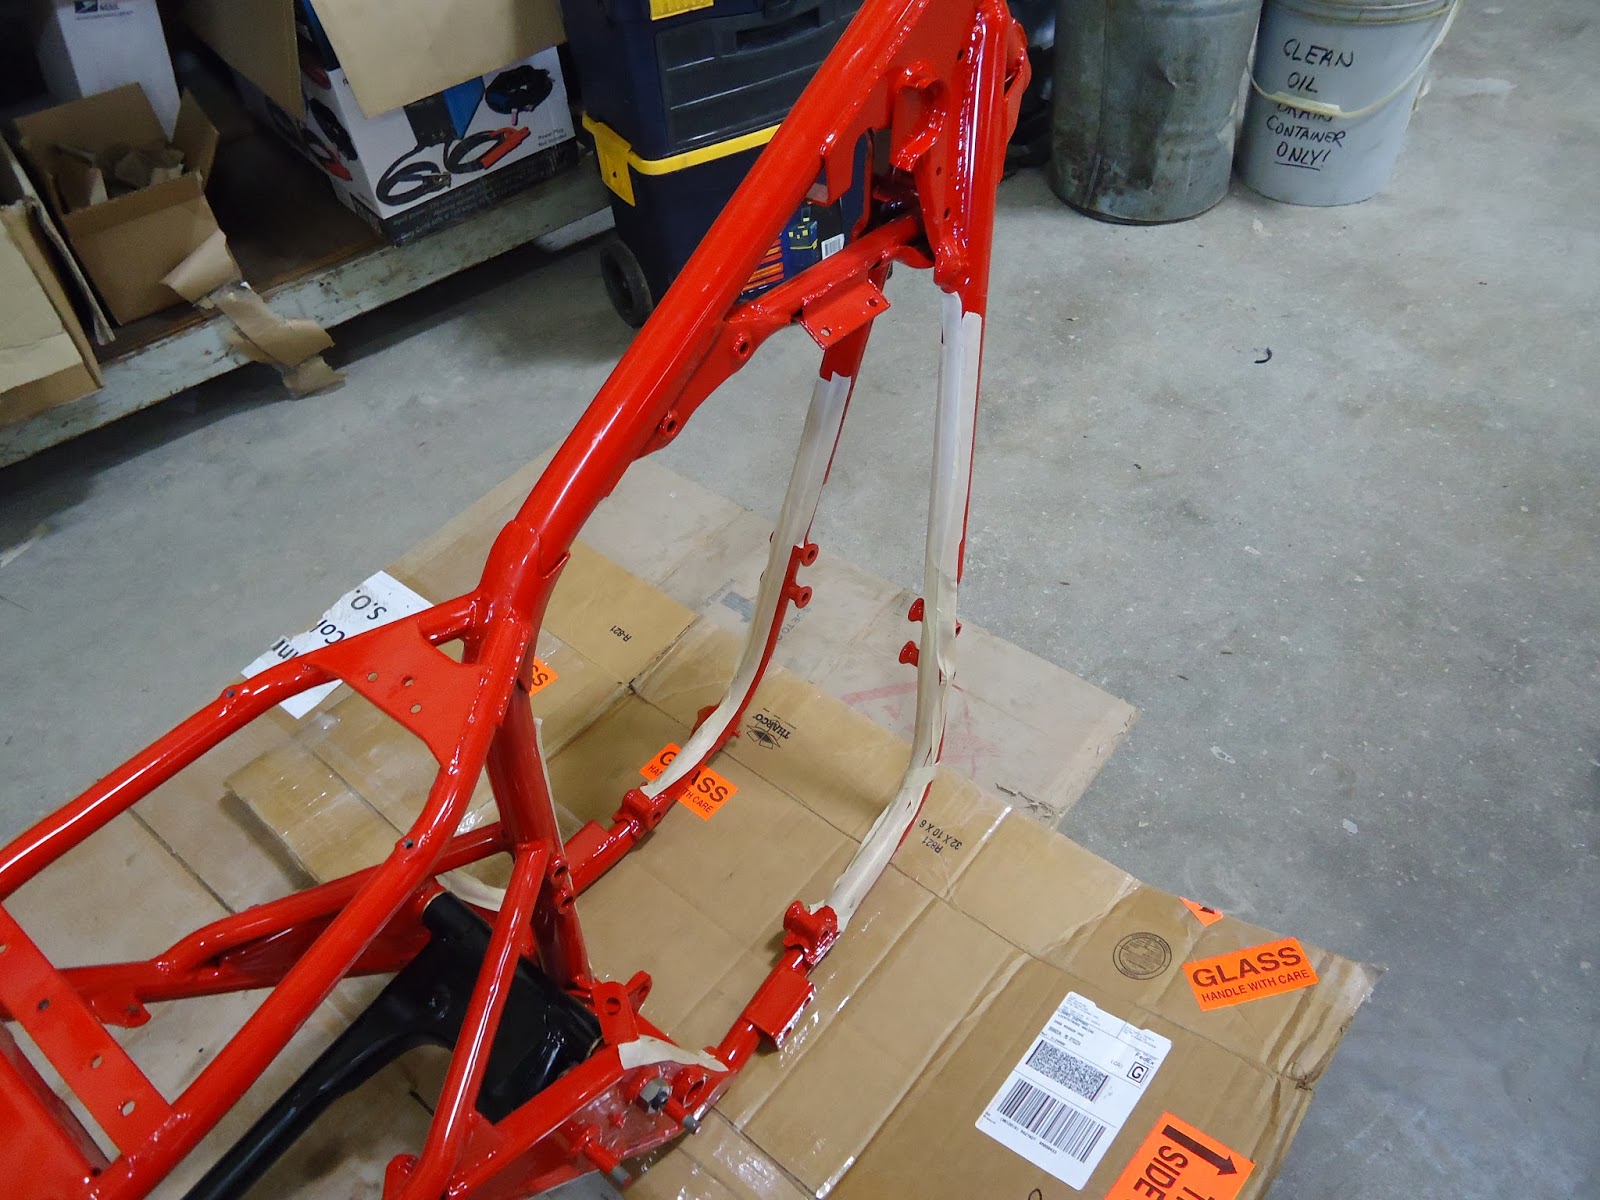
The next step was to actually lever the engine into the frame. This is not easy, and if there was one thing we learned from watching the bike build shows on TV, it was to try to protect the frame from the very heavy and awkward engine. Some masking tape did the trick. We did have two small nicks, and of course, if we could do it again, we would have manoeuvred the engine in slightly differently. That's learning though, right?

Closer inspection of some of the engine bolts revealed a bit of corrosion, so only two were put in place temporarily -- the others would be cleaned with a wire wheel and refinished, and then installed.

We ended the session by fitting the shocks, rear wheel, and the new foot peg assembly. The eagle-eyed amongst you will notice that the rear shock on this side needs to be flipped so that the remote reservoir is facing to the rear of the machine.
No comments:
Post a Comment